
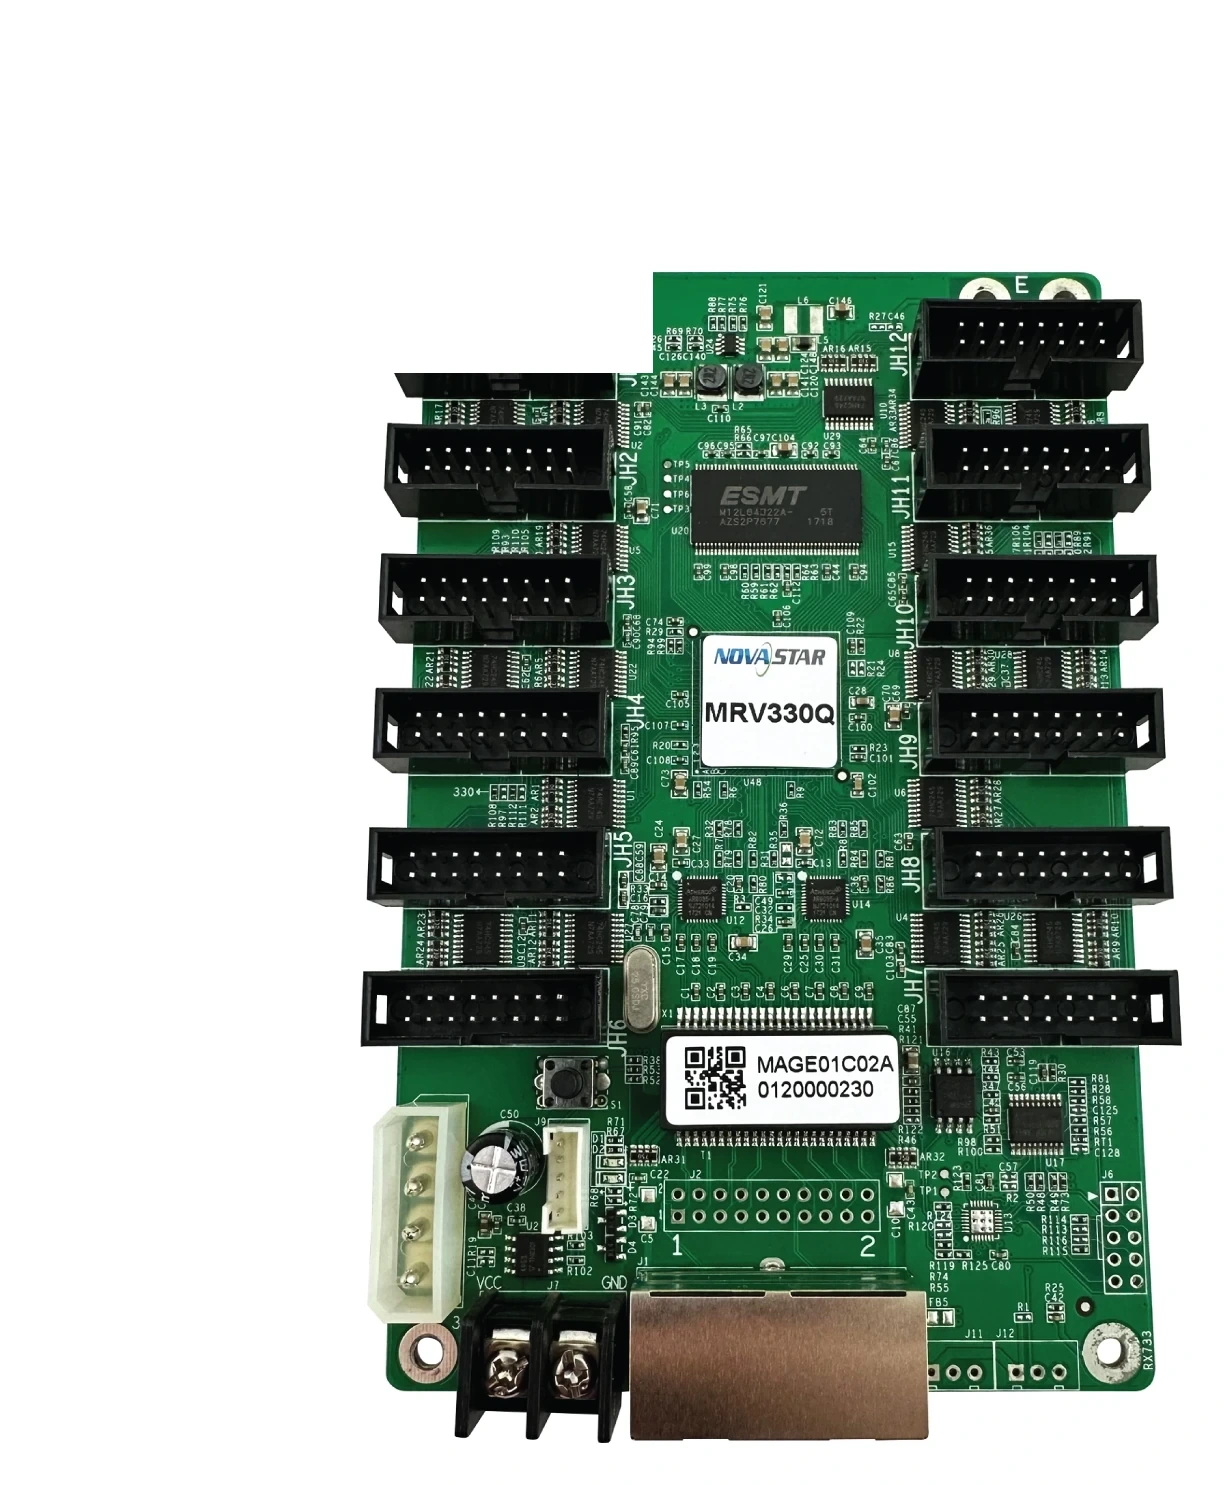
What is the NovaStar MRV330Q receiving card?
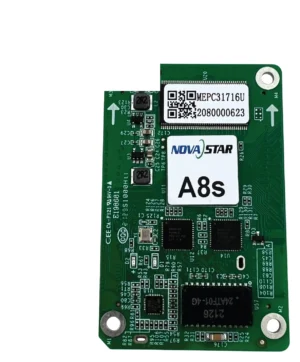
The NovaStar MRV330Q is a legacy LED receiving card installed inside an LED cabinet. It receives the screen data assigned to that cabinet and sends it to the connected LED modules. The board itself is easy to identify: the printed MRV330Q label sits between two banks of direct module connectors.
Buy it to replace an installed MRV330Q, after comparing the existing card, module ribbons and cabinet configuration. A nearby MRV330-family name, a similar board shape or an online capacity figure is not enough proof that it will restore the wall.
MRV330Q key features
- MRV330Q board identity: the exact label matters. Read it from the failed card rather than ordering from a family name remembered from the controller software.
- Twelve direct module connections: the visible layout has six outputs on each side of the board. Photograph the ribbon order before removal so a spare can be connected to the same module positions.
- Legacy cabinet replacement: an older card can be physically close to another model but still rely on a different cabinet map, wiring arrangement or driver setup. Treat the original cabinet data as part of the replacement, not an optional extra.
- Configuration-led recovery: if a working cabinet can still communicate, save its settings before the card is removed. That gives the new card a known module order instead of a trial-and-error rebuild.
- Focused compatibility help: when the exact limit or file is uncertain, a clear board photo, ribbon photo and cabinet file lead to a useful answer. A broad “is it compatible?” question does not.
NovaStar MRV330Q specifications
Older online listings disagree on this model’s numerical capacity, so do not use a copied figure to design a new wall or decide that one card is enough. The checks below are the reliable information available from the installed card and cabinet.
| Exact product label | MRV330Q printed on the installed board |
|---|---|
| Visible module layout | Twelve direct module-output connectors, arranged in two banks |
| Cabinet fit | Match mounting, module ribbons, power and controller connection to the existing cabinet |
| Configuration | Use the saved configuration from the same cabinet design whenever it is available |
| Capacity and scan | Confirm from the original cabinet file or manufacturer documentation; do not rely on conflicting legacy listings |
MRV330Q replacement checks before a cabinet is opened
Take four things from the working cabinet before ordering a spare: a close photo of the board label, a photo showing every module ribbon, the cabinet location, and the saved configuration if the card still communicates. Together, they show what the replacement must preserve.
Then check the simple fault path. Confirm cabinet power, the Ethernet connection from the previous cabinet, and the ribbon seating before treating the receiving card as failed. A loose module cable or a lost configuration can look exactly like a failed board from the front of the screen.
When the new card arrives, test one cabinet before applying any change to the rest of the wall. If the cabinet lights but the content is tiled, repeated, mirrored or incomplete, stop. Restore the configuration from the same cabinet rather than moving ribbons at random or installing a different card.
If the old board and its file are both unavailable, do not substitute a card just because it has twelve module connectors. Send the cabinet photo, module dimensions, ribbon count and controller model before buying. Those details allow a meaningful compatibility review and are far safer than a capacity number copied from an old listing.
MRV330Q vs MRV330: why the label matters
MRV330 and MRV330Q are close enough in search results that sellers often mix the names, but an exact MRV330Q primary specification has not been verified here. That means this page does not present MRV330 figures as MRV330Q figures, and it does not recommend a standard MRV330 as a drop-in substitute.
For an existing wall, use the complete model printed on the failed board as the first filter. Then compare the physical output layout, module ribbons, cabinet power and saved configuration. If a cabinet maker or the original project documentation specifies a different card, follow that evidence instead of choosing from the shared family name.
For a new screen rather than a repair, choose a current receiving card with a published, model-specific load table and confirmed module compatibility. A legacy MRV330Q should be selected because it matches an existing cabinet, not because an old marketplace listing makes it sound broadly interchangeable.
MRV330Q setup with NovaLCT and the original cabinet file
A smooth replacement begins before the old board is removed. Use NovaLCT to save the working screen configuration where the existing system allows it. Keep the file with the cabinet location and the photos of the board and module-ribbon layout.
The configuration describes the physical relationship between modules: their scan, wiring and pixel map. It is not the same as a firmware file. Firmware tells a receiving card how to run its supported electronics; the cabinet configuration tells it how this cabinet is assembled. A generic file from another wall may make the new card power up while displaying the wrong image.
Restore the verified cabinet file, confirm the one repaired cabinet, and only then repeat the process elsewhere on the screen. Do not update firmware simply because a newer version is visible; no exact MRV330Q package has been verified for this page.
MRV330Q software and replacement support
No verified MRV330Q datasheet or firmware package is available here. The file once labelled as an MRV330Q datasheet is an MRV300 document, so it is not used for this card. Use the resources below to preserve the working configuration and confirm an exact replacement without relying on the wrong file.
NovaStar MRV330Q FAQ
What does the MRV330Q receiving card do?
It receives mapped screen data inside a compatible LED cabinet and distributes that data to the LED modules connected to the board.
How do I identify an MRV330Q?
Check the printed MRV330Q label on the board. The product image shows its two banks of direct module connectors, but always use the installed board as the final reference.
What is the MRV330Q maximum load?
Do not use a marketplace figure for this decision. Verified legacy listings conflict, so confirm the original cabinet file or manufacturer documentation before planning capacity.
Can an MRV330 replace an MRV330Q?
Not automatically. Match the exact board label, output layout, module ribbons, power and original cabinet configuration before considering any substitution.
What should I save before replacing an MRV330Q?
Save the working cabinet configuration, and photograph the card label, both sides of the board and every module-ribbon connection.
Why is the picture wrong after an MRV330Q replacement?
The cabinet configuration may not match the module wiring and pixel map. Restore the file from the same cabinet design before moving cables or changing other hardware.
Should I update MRV330Q firmware during a repair?
Not without an exact verified package for the installed hardware. Protect and restore the known-good configuration first.
Can you verify an MRV330Q replacement before I order?
Yes. Send the complete card label, clear front/back photos, cabinet location, module-ribbon layout and saved configuration if you have it.
Reviews
There are no reviews yet.